Prepare Tools and Materials for an Efficient Flooring Installation

Prepare Tools and Materials for an Efficient Flooring Installation
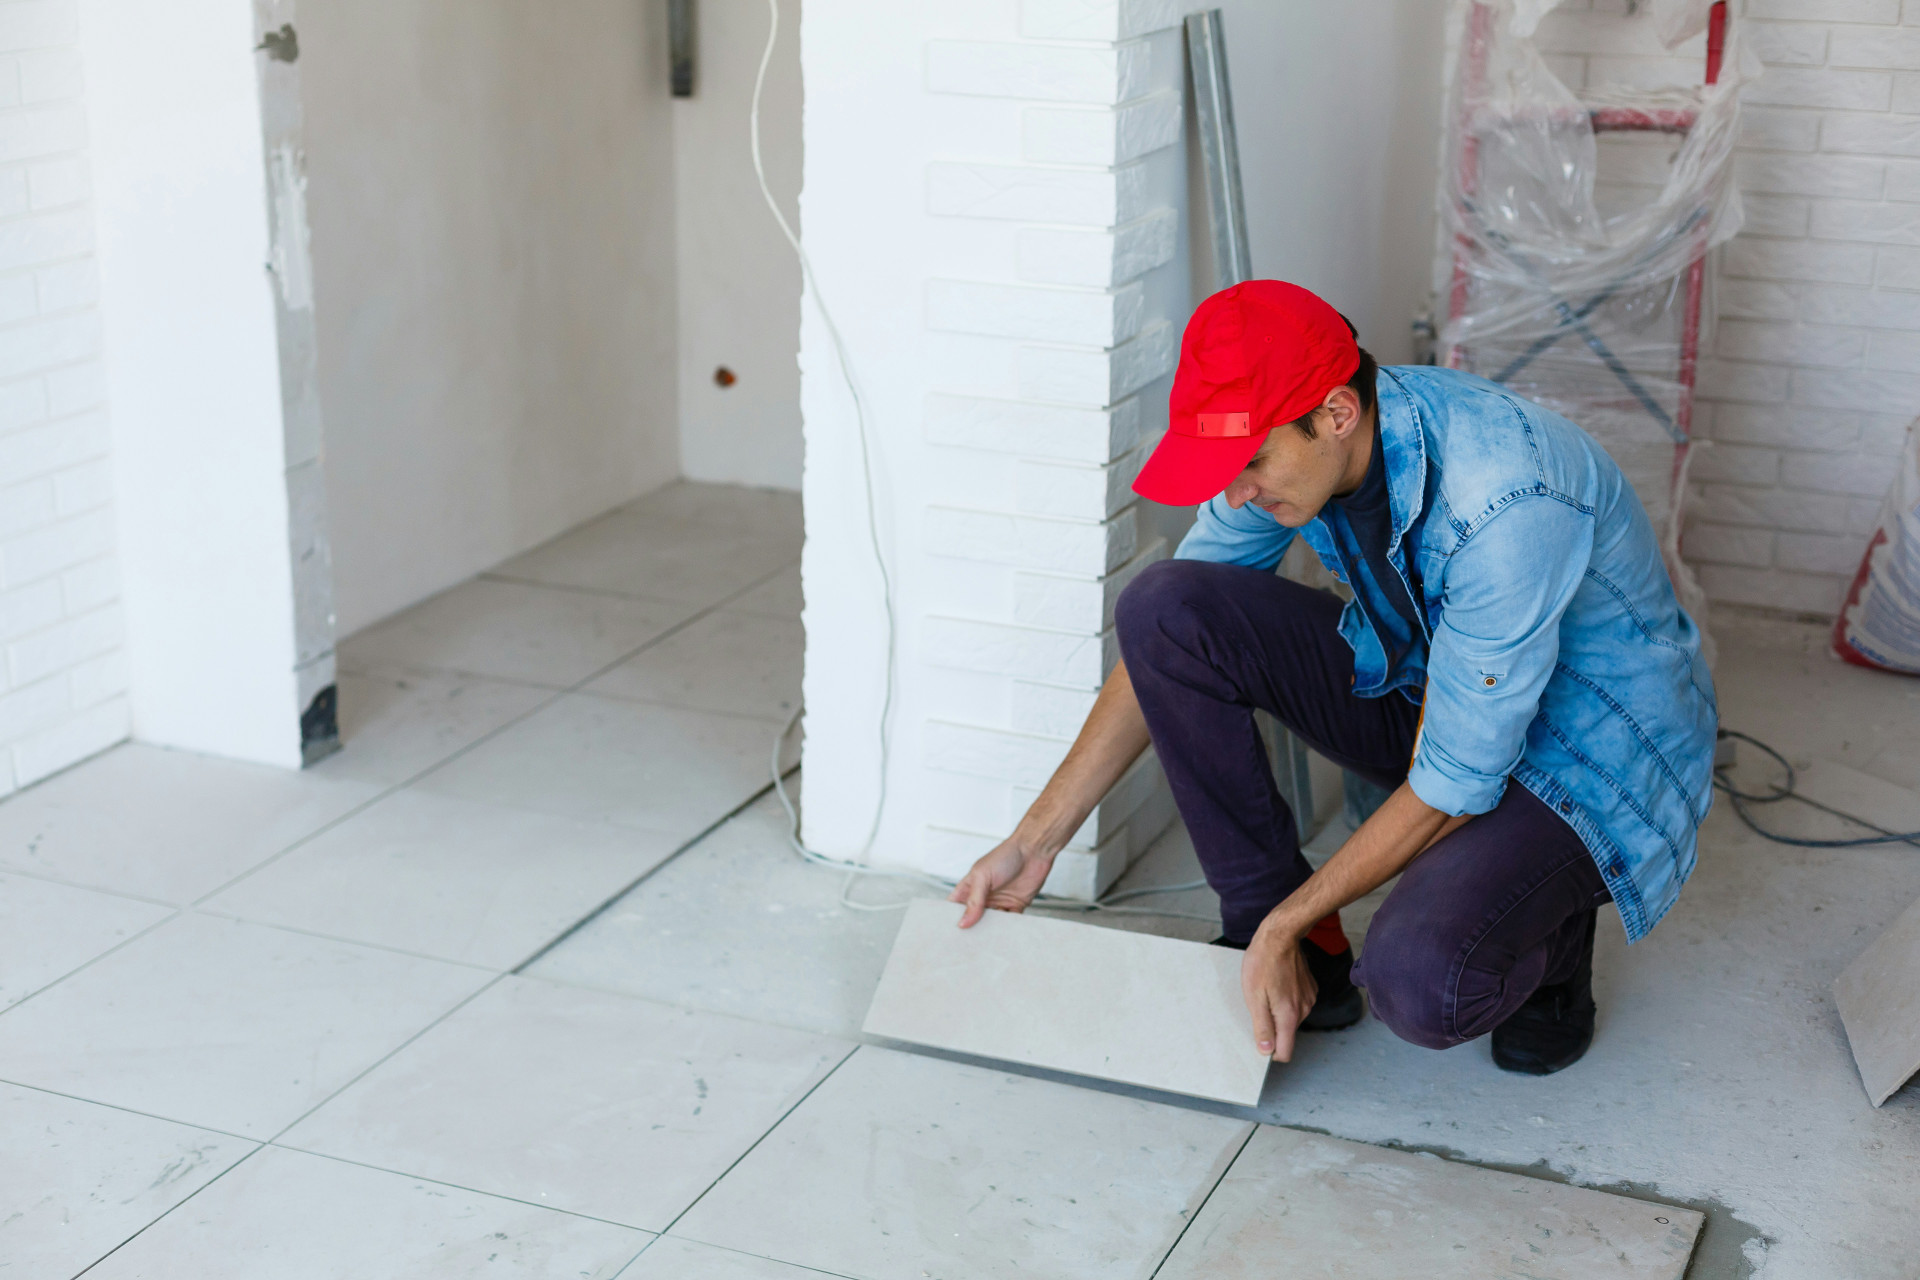
A successful flooring installation starts long before the first plank is laid. Preparation is key — from assessing the subfloor to gathering the right tools and materials. Whether you’re installing hardwood, laminate, or vinyl, careful planning can save you time, frustration, and costly mistakes. Here’s a practical guide to help you get ready for a smooth and efficient flooring project.
Assess the Subfloor First
Before you unpack any flooring, make sure your subfloor is in good condition. An uneven or damp subfloor can lead to squeaks, gaps, or warped boards later on.
- Check for uneven areas: Use a long level or straightedge. Any dips or high spots greater than 1/8 inch over 6 feet should be leveled with floor patch or sanded down.
- Test for moisture: This is especially important for concrete slabs. Use a moisture meter and follow the flooring manufacturer’s recommendations for acceptable levels.
- Clean thoroughly: Remove dust, grease, and old adhesive. A clean surface ensures better adhesion and a more professional finish.
Once the subfloor is dry, level, and clean, you’re ready to move on.
Choose the Right Materials
Your flooring choice should fit both the room’s function and your personal style. Regardless of the type, quality materials are essential for durability and appearance.
- Hardwood flooring: Offers a timeless, natural look but requires more maintenance and is sensitive to humidity.
- Laminate flooring: Durable, affordable, and easy to install — great for high-traffic areas.
- Vinyl flooring: Water-resistant and comfortable underfoot, making it ideal for kitchens, bathrooms, and basements.
Don’t forget the underlayment. A sound-reducing underlayment can make a big difference in multi-story homes, while a moisture barrier is a must over concrete.
Essential Tools for Flooring Installation
Having the right tools makes the job faster, easier, and more precise. Here’s what you’ll need:
- Circular saw or jigsaw – for cutting planks to fit around walls and corners.
- Tapping block and mallet – to snug planks together without damaging the edges.
- Spacers – to maintain the proper expansion gap along the walls.
- Tape measure and pencil – for accurate measurements and markings.
- Level – to ensure the floor is even.
- Knee pads – to protect your knees during long hours of installation.
If you’re installing click-lock flooring, consider buying an installation kit that includes spacers, a tapping block, and a pull bar.
Plan the Project Step by Step
A clear plan saves time and reduces errors. Start by measuring the room and calculating how much flooring you’ll need. Always add 5–10% extra for waste and trimming.
- Acclimate the flooring: Let the planks sit in the room for at least 48 hours before installation so they can adjust to the temperature and humidity.
- Plan the layout: As a general rule, lay the planks parallel to the longest wall or in the direction of natural light from windows.
- Stagger the joints: Avoid aligning end joints in adjacent rows. Staggering them creates a stronger and more attractive floor.
With a solid plan, the installation process will go much more smoothly.
Læs også:

Avoid Common Beginner Mistakes
Even small oversights can cause big problems later. Here are some common pitfalls — and how to avoid them:
- Skipping the expansion gap: Leave a 1/4-inch gap around the perimeter to allow for natural expansion and contraction.
- Forgetting the moisture barrier: Always install a plastic vapor barrier over concrete subfloors.
- Inaccurate measurements: Measure twice, cut once — it saves both time and materials.
- Rushing the job: Take your time to check each row before moving on. Precision pays off in the long run.
Patience and attention to detail are your best tools for success.
Finish with the Final Touches
Once the flooring is installed, it’s time to complete the look. Install baseboards or quarter-round molding to cover the expansion gap and give the room a polished finish. Clean up any dust or debris, and if you’ve installed hardwood, consider applying a protective finish for added durability.
Finally, step back and enjoy your work. A well-prepared and properly installed floor not only enhances the beauty of your home but also provides a sturdy foundation for years to come.
Læs også: