Model Building and Craft Hobbies: Set Up Your Workshop for Creative Construction

Model Building and Craft Hobbies: Set Up Your Workshop for Creative Construction
A well-organized workshop can make all the difference between frustration and flow when you’re working on model and craft projects. Whether you build trains, airplanes, ships, or miniature landscapes, you need a space that’s both inspiring and practical. Here’s how to set up your workshop so it becomes a place where creativity thrives—and where tools, materials, and focus all come together.
Design a Space That Works for You
Before you start rearranging furniture or buying storage bins, think about how you’ll use the space. Will it be mainly for precision work like painting and gluing, or do you also need room for larger builds and display?
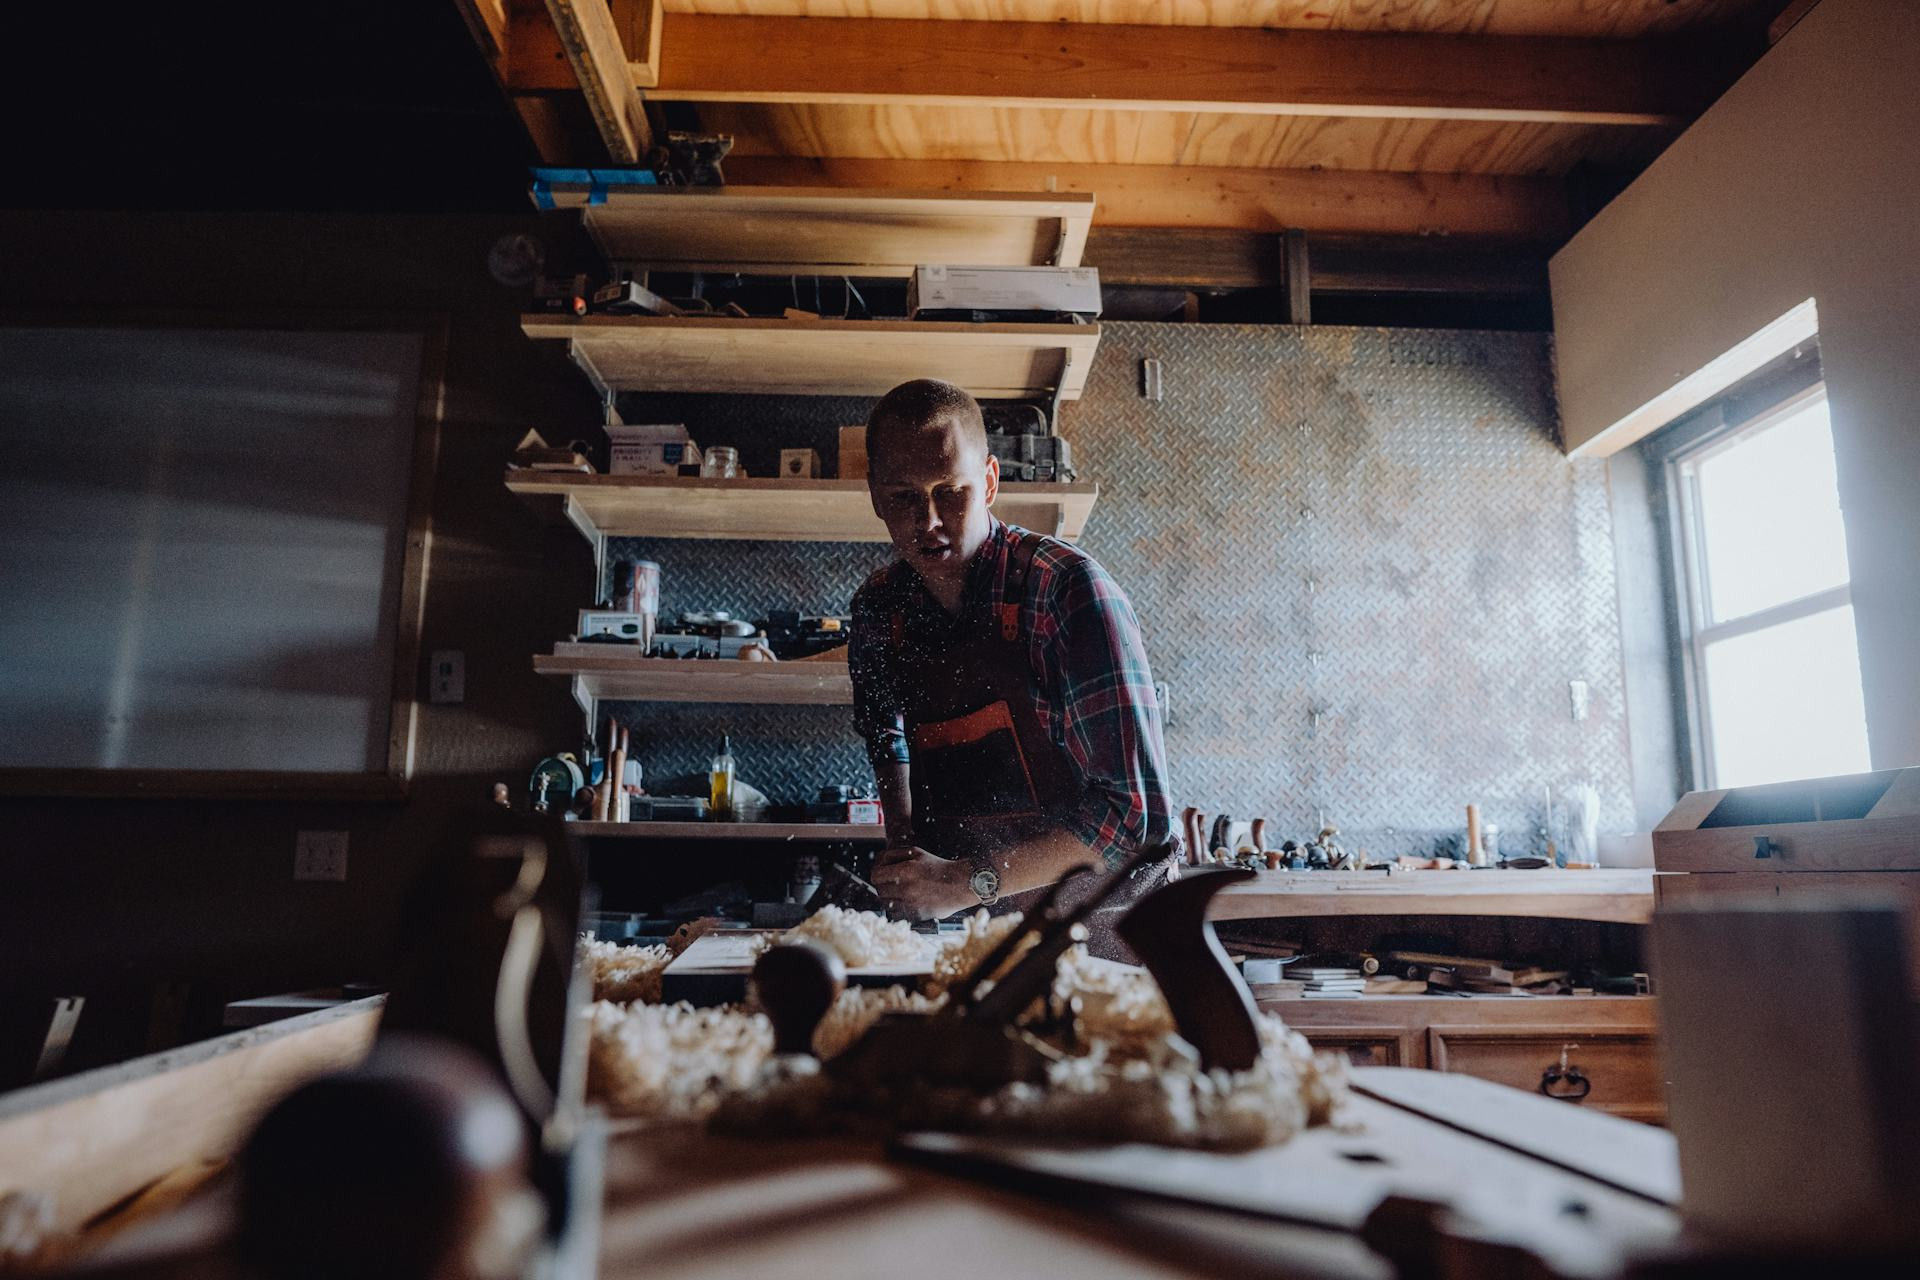
A good approach is to divide your workshop into zones:
- Work Zone – A sturdy workbench with good lighting and enough space to move around comfortably.
- Storage Zone – Shelves, drawers, and bins for tools, paints, adhesives, and spare parts.
- Display Zone – A dedicated area to showcase your finished models and spark ideas for future projects.
By organizing your space into zones, you’ll reduce clutter and make it easier to stay focused on the fun part—building.
Lighting and Ergonomics: The Unsung Essentials
When you’re working with small parts and fine details, lighting is crucial. Combine general overhead lighting with focused task lighting over your workbench. A lamp with an adjustable arm and daylight bulb provides natural, even light that helps you see colors and details accurately.
Ergonomics matter, too. Choose a workbench at the right height and a chair that supports your back. If possible, include a standing area for certain tasks—alternating between sitting and standing can help prevent fatigue and stiffness during long sessions.
Keep Tools—and Thoughts—Organized
A tidy workspace helps keep your mind clear. Use pegboards, magnetic strips, or wall-mounted racks to keep tools within easy reach. Store small parts like screws, gears, and fittings in labeled, transparent containers so you can find what you need at a glance.
A handy trick is to keep a “project tray”—a shallow tray where you gather all the parts and tools for your current build. That way, you can quickly tidy up or move your project without losing track of anything.
Materials and Safety First
Model building often involves glues, paints, and sharp tools, so safety and ventilation are key. Make sure your workspace has good airflow—open a window or install a small exhaust fan if you use solvents or spray paints.
Store chemicals and sharp objects safely, especially if children have access to the area. Use fire-resistant containers for paints and solvents, and keep a small first-aid kit nearby for minor cuts or burns.
Make Room for Inspiration
A workshop shouldn’t just be functional—it should also inspire you. Hang up photos, sketches, or posters of models you admire or plan to build. Create a bulletin board for ideas, notes, and progress shots.
Many hobbyists like to have a “project corner” where an ongoing build can stay set up between sessions. It’s motivating to see your work in progress and makes it easy to pick up right where you left off.
Bring Digital Tools Into the Mix
Even in a hands-on hobby like model building, digital tools can be a big help. Keep a computer or tablet in your workshop to follow instructions, watch tutorials, or track your project plans.
There’s also great software for 3D modeling, layout design, and scale planning that can help you visualize your ideas before you start cutting or gluing. It’s a modern twist that can save time and materials.
Create a Space You Love to Be In
The best workshop is one that feels like your own creative retreat. Decorate it with colors, textures, and details that reflect your personality. Maybe add a small speaker for music, a few plants for a touch of green, or even a mini fridge for cold drinks during long building sessions.
A well-designed workshop isn’t just a place to build—it’s a space for focus, creativity, and relaxation. Once everything is in place, you can let your imagination take over and bring your models to life, one piece at a time.